John Deere Planter PowerGard Inspection
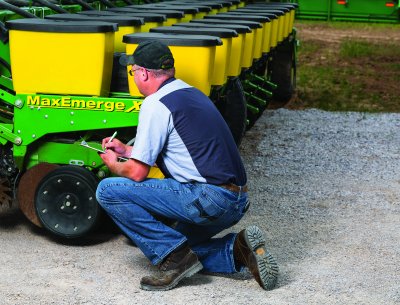
John Deere PowerGard™ Inspection Form
View Your John Deere Planter Operators Manual Online
John Deere MaxEmerge™ Row Unit Inspection
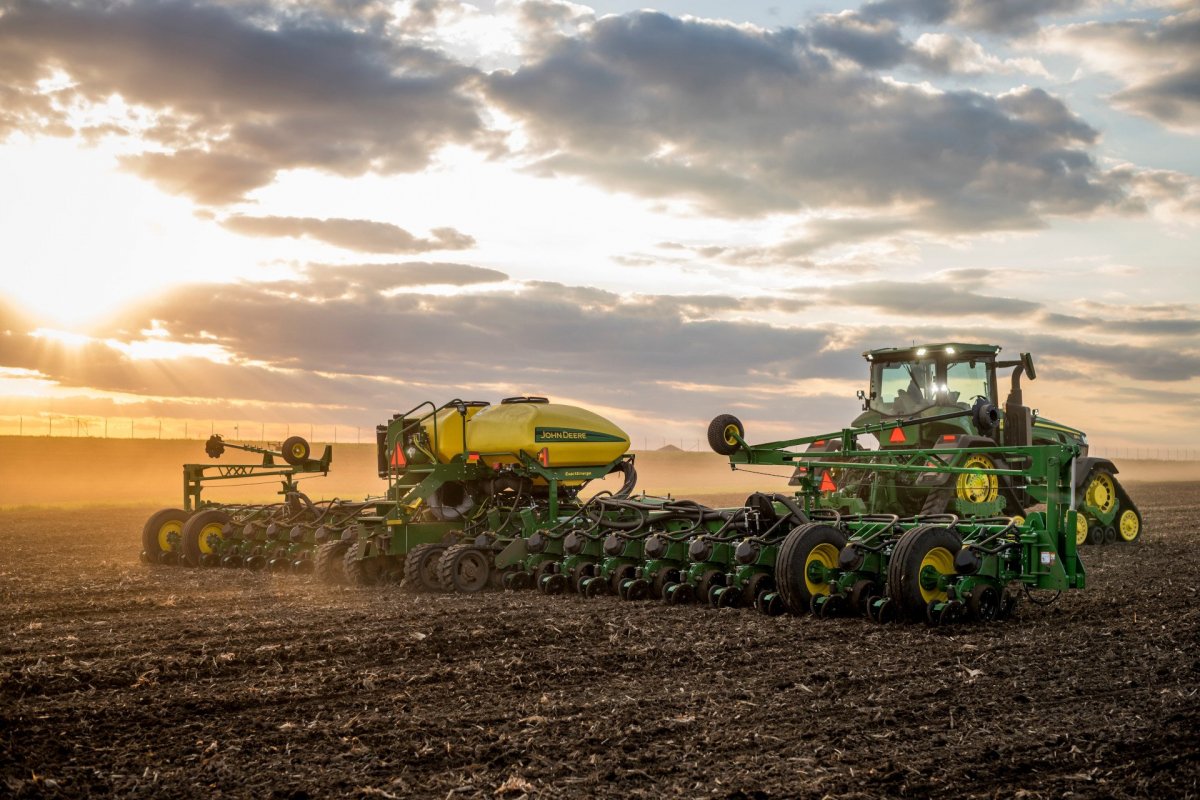
John Deere Service | Put Experience to Work, John Deere Factory Certified Technicians who know your Planter Utilize the John Deere PowerGard Inspection Process to Deliver the Maximum InSeason Productivity.
![]() CUSTOMER INFORMATION PLANTER INFORMATION
CUSTOMER INFORMATION PLANTER INFORMATION
|
Name: |
Planter hectares: |
||||
|
Address: |
Serial number: |
||||
|
City and province: |
Warranty end date: |
||||
|
Phone: Date: |
|
||||
|
Section |
Condition |
Customer OK’s Repair |
Replacement specification |
||
|
OK |
Repair/ Replace |
Adjust |
|||
|
John Deere ExactEmerge™ and MaxEmerge™ 5 Agronomic Solutions
ROW UNITS
|
Parallel arm bushings |
|
|
|
|
Inspect for excessive row unit looseness. |
|
Parallel arm attaching cap screws |
|
|
|
|
Check for proper torque (Grade 8.8 = 181 N-m or Grade 10.9 = 250 N-m). |
|
Check all row unit hopper locks and disconnects |
|
|
|
|
Adjust/replace to properly secure hoppers. |
|
Inspect routing of row unit harness to seed sensor |
|
|
|
|
Secure as required to minimise pinch points. |
How to Adjust A Planter for Crop Changeover ExactEmerge
|
Section |
Condition |
Customer OK’s Repair |
Replacement specification |
||
|
OK |
Repair/ Replace |
Adjust |
|||
|
Hopper and lid |
|
|
|
|
Verified if installed and functioning correctly. |
|
Seed tube |
|
|
|
|
Inspect for wear against seed tube. Damage to the seed tube may decrease seed placement accuracy. |
|
Check seed tube sensors |
|
|
|
|
Perform monitor “Seed Tube Sensor Test” and verify sensor is functional through the display. |
|
Seed tube guard |
|
|
|
|
Inspect for wear. Replace when replacing opener blades or when the guard is no longer protecting the seed tube due to wear. |
|
Double-disk opener shield |
|
|
|
|
Ensure clearance between blade and shield. |
|
Tru-Vee opener blade/bearing |
|
|
|
|
Disk blades are sharp. Wear protective gloves and handle disks carefully to avoid being injured. Measure blade diameter using JDG11600 Opener Disk Wear Gauge or similar tool.
Minimum specification is 14” diameter (356 mm). If diameter is below specification or if beveled edge is worn off, replace blades.
Check blade edge contact:
|
|
Opener blade scraper |
|
|
|
|
Check scraper blade and spring for wear. |
|
Gauge wheel arm |
|
|
|
|
Proper adjustment to opener blade. |
|
Gauge wheel assembly |
|
|
|
|
Check that gauge wheel tyres touch blades, but still turn with minimal resistance. Gauge wheel tyres must be a maximum 1.5 mm (0.06 in) away from blades at closest point. |
|
Gauge wheel tyre |
|
|
|
|
Replace if upper lip near blade is worn off. |
|
Gauge wheel bearing/bushing |
|
|
|
|
Inspect for proper bearing retention. |
|
Closing wheel handle and bushing |
|
|
|
|
Inspect for proper bearing retention and excessive looseness. Check for proper alignment with seed trench. |
|
Inspect closing wheel/bearing/tyre |
|
|
|
|
Check for excessive runout of loose bearing. Ensure tyre is secured by rim with no cracks. Inspect for rough turning or grease purging. |
|
Inspect closing wheel spring |
|
|
|
|
Check for broken springs, worn hooks on springs that may break in season, and stretched springs that don’t have tension in all settings. |
|
Depth adjusting handle assembly |
|
|
|
|
Inspect wear at pivot and spring. |
|
Row unit drive assembly |
|
|
|
|
Inspect sprockets and bearing for no excessive wear or play. |
|
VACUMETER
|
Inspect vacuum fan |
|
|
|
|
Inspect the impeller for any signs of damage – common damage from debris contact includes chips out of the impeller, blades, cracked impellers, etc. If any noticeable damage is found on the impeller, immediately replace the impeller. Additionally, inspect the impeller and the internal fan housing for signs of the impeller contacting the fan housing. See DTAC Solution 81960 for full details. |
|
Check vacuum gauge filter |
|
|
|
|
Check for dust and verify the gauge is responsive. Replace if needed. |
How to Set Up MaxEmerge™ 5 and MaxEmerge 5e Row Units
|
Section |
Condition |
Customer OK’s Repair |
Replacement specification |
||
|
OK |
Repair/ Replace |
Adjust |
|||
|
Inspect brush, brush holder, baffle and chute cover |
|
|
|
|
If gaps are large enough to allow seed to pass through, replace brush. |
|
Inspect hub seal |
|
|
|
|
Check for weathered or cracked conditions. Replace as necessary. |
|
Inspect seed disk |
|
|
|
|
|
|
Inspect meter vacuum seal |
|
|
|
|
Inspect for large cracks or wear. Replace when necessary or when replacing seed disks. |
|
Inspect wiper |
|
|
|
|
Replace if wiper is grooved or worn excessively. |
|
Inspect latch/handle |
|
|
|
|
Ensure proper retention of meter to hopper. Replace if cracked or broken. |
|
Inspect chamber |
|
|
|
|
Check for talc and treatment buildup. |
|
Inspect vacuum meter dust seal |
|
|
|
|
Check for cracks or weathered conditions. Replace as necessary. |
|
Inspect flex drive assembly |
|
|
|
|
Make sure flex drive pivots freely. |
|
Inspect knocker assembly (option) |
|
|
|
|
Replace if knocker points are worn. |
|
Inspect bearing |
|
|
|
|
Replace if rough or purging grease. |
|
Inspect housing |
|
|
|
|
Look for visible cracks. |
|
Inspect vacuum hoses |
|
|
|
|
Replace if cracked or worn. |
ROW CLEANERS/COULTERS
|
Row cleaners |
|
|
|
|
Verified if installed and functioning correctly. Replace bent teeth/inspect bearings. Replace if excessive wear, bearings are worn out, or not operating as desired. |
|
Frame mounted coulters |
|
|
|
|
Inspect bearings and blade wear. Adjust bottom of coulter approximately 10 mm (3/8 in) higher than bottom of opener blades. |
|
Conservation disk coulters |
|
|
|
|
Inspect bearings and blade wear. Adjust bottom of coulter approximately 10 mm (3/8 in) higher than bottom of opener blades. |
|
Combination coulter |
|
|
|
|
Inspect bearings and blade wear. Adjust bottom of coulter approximately 10 mm (3/8 in) higher than bottom of opener blades. |
|
Unit mounted coulters |
|
|
|
|
Inspect bearings and blade wear. Adjust bottom of coulter approximately 10 mm (3/8 in) higher than bottom of opener blades. |
DOWNFORCE
|
Downforce system |
|
|
|
|
Verified if installed and functioning correctly. More information available in DTAC Solution 91922 (active PDF) or 108211 (IRHD). |
|
Heavy-duty adjustable springs |
|
|
|
|
Check for worn cast components and excessive slop. |
|
(IRHD) Hydraulic fittings and hoses |
|
|
|
|
Check for leaks and hose wear. Reroute/replace hoses as needed. |
|
(IRHD) Harnesses and sensors |
|
|
|
|
Check connections, pinching, and any wear to harnesses. |
|
(IRHD) Actuator and mounting |
|
|
|
|
Check for wear and leaks. |
|
(PDF) Check harnesses and sensors |
|
|
|
|
Check connections, pinching, and any wear to harnesses. |
|
(PDF) Pneumatic leaks |
|
|
|
|
Check for leaks and confirm performance. Ensure no excessive compressor run time. |
|
(PDF) Compressor |
|
|
|
|
Verify function and compressor turns on/off at the correct times and builds appropriate pressure (150 psi to turn off). |
ROW COMMAND
|
Inspect routing of RowCommand clutch harness (if equipped) |
|
|
|
|
Secure as required to minimise pinch points. |
|
Perform RowCommand self-test (if equipped) |
|
|
|
|
Verify system is functioning. Refer to OM. |
Recommendations
|
Lubricate wheel bearings Lubricate entire machine |
|
|
|
|
|
|
Remove and lubricate meter drive assembly between coupler, washers, and outer bearing (non-Pro-Shaft drive) |
|
|
|
|
|
John Deere Planter ExactEmerge™ | Virtual Tour
Cross Implement - The Mark of Quality Equipment

Your Local John Deere Dealer Serving You From Central Illinois
We're Not Better Than Any Other Dealership We Just Try Harder
We are a Classic John Deere Dealership Where You Get the Traditional John Deere Experience.
By keeping our dealings simple and straightforward with attention to detail we have grown in Scale to One of the Largest John Deere Ag, Consumer, Commercial & WorkSite Dealer Locations in North America
Wherever you are located we want to be your local dealer. We aren't better than any other dealer we just try a little harder.
Experience the Difference Today
• John Deere Since 1837 •